1.2 Install VS Code
In this tutorial, we will go over how to install and configure Visual Studio Code for your ROS 2 projects.
Visual Studio Code, which is VS Code in shorten, is a free and open-source code editor developed by Microsoft. It’s a good choice for programmers of all levels, from beginners to professionals.
Installation 1
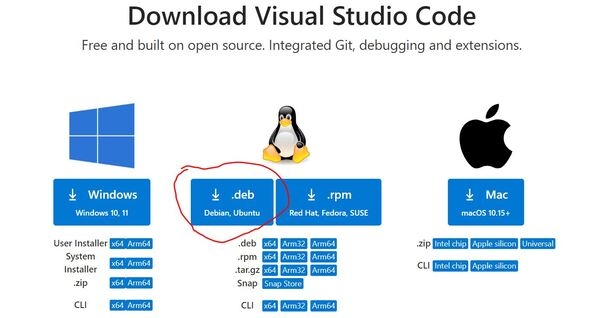
Go to the download page at Visual Studio Code and Click the .deb button.
Open a terminal window, and type:
Run the following command, replacing “filename.deb” with the actual name of your download file:
Enter your password when prompted, and click Yes if you see the pop-up configuration screen.
The installation will start. After the installation complete, navigate to your workspace and type:
Installation 2
Ubuntu 24.04 comes with an APP Center with commonly used tools, and you can install VS Code from it as an easy way.
Open APP Center and type code in the search bar, click the code that appears.

Click Install button and that's it.

Install Extensions
Basic extensions:
Click on the Extensions button on the left side of the window
Search for the “C/C++” extension by Microsoft and install it
Search for the ROS extension from Microsoft and click the Install button.
Search for “CMake”, and install the version made by twxs.
Search for “CMake Tools”, and install the version made by Microsoft.
Search for “XML”, and install the version made by Red Hat.
Search for “python”, and install the version made by Microsoft. Note: You may have already installed it.
For embedded (MCU):
Search for the “PlatformIO” extension and install it
Search for the “Serial Monitor” extension and install it
Last updated